PaperZen
Quilling Paper Organizer 11 inch
Regular price
$0.00 USD
Regular price
Sale price
$0.00 USD
Unit price
per
Shipping calculated at checkout.
Couldn't load pickup availability
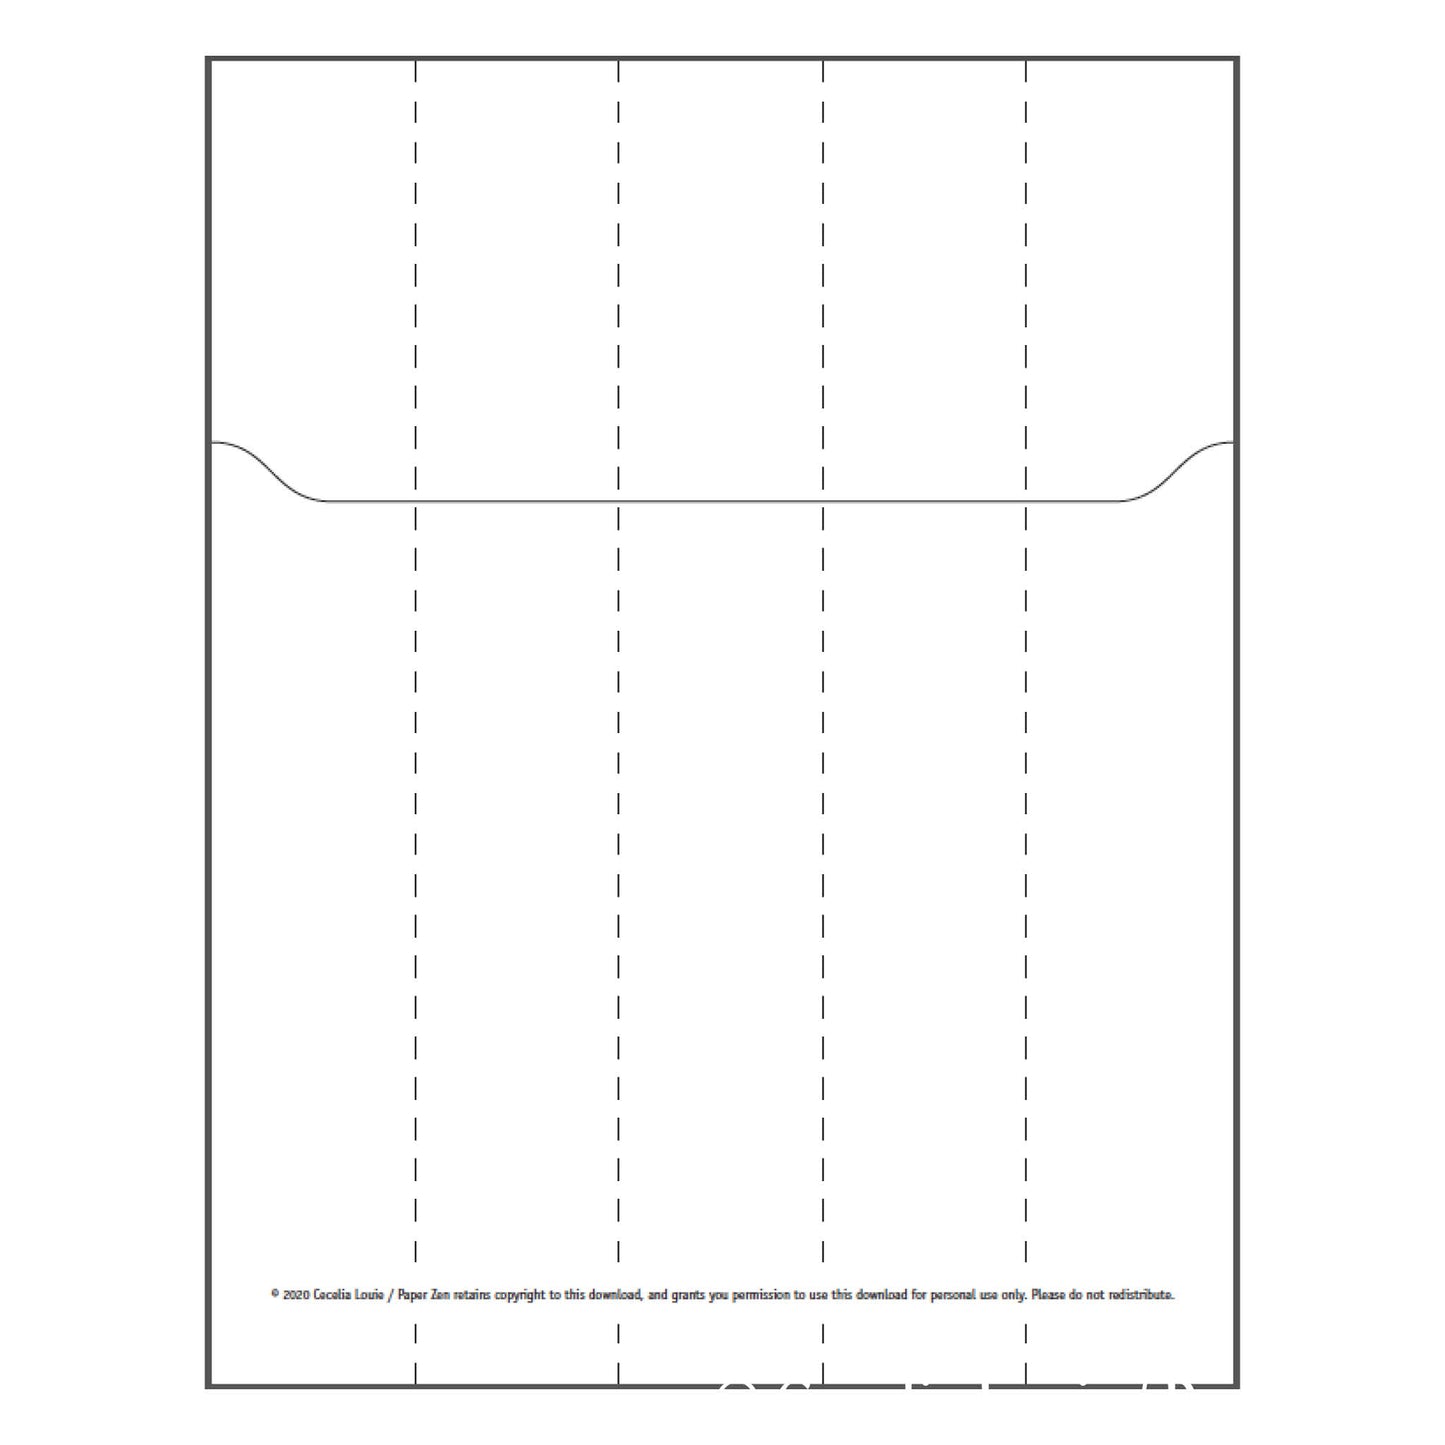
This is a free template to help you organize your quilling paper strips, by sewing a single sheet protector.
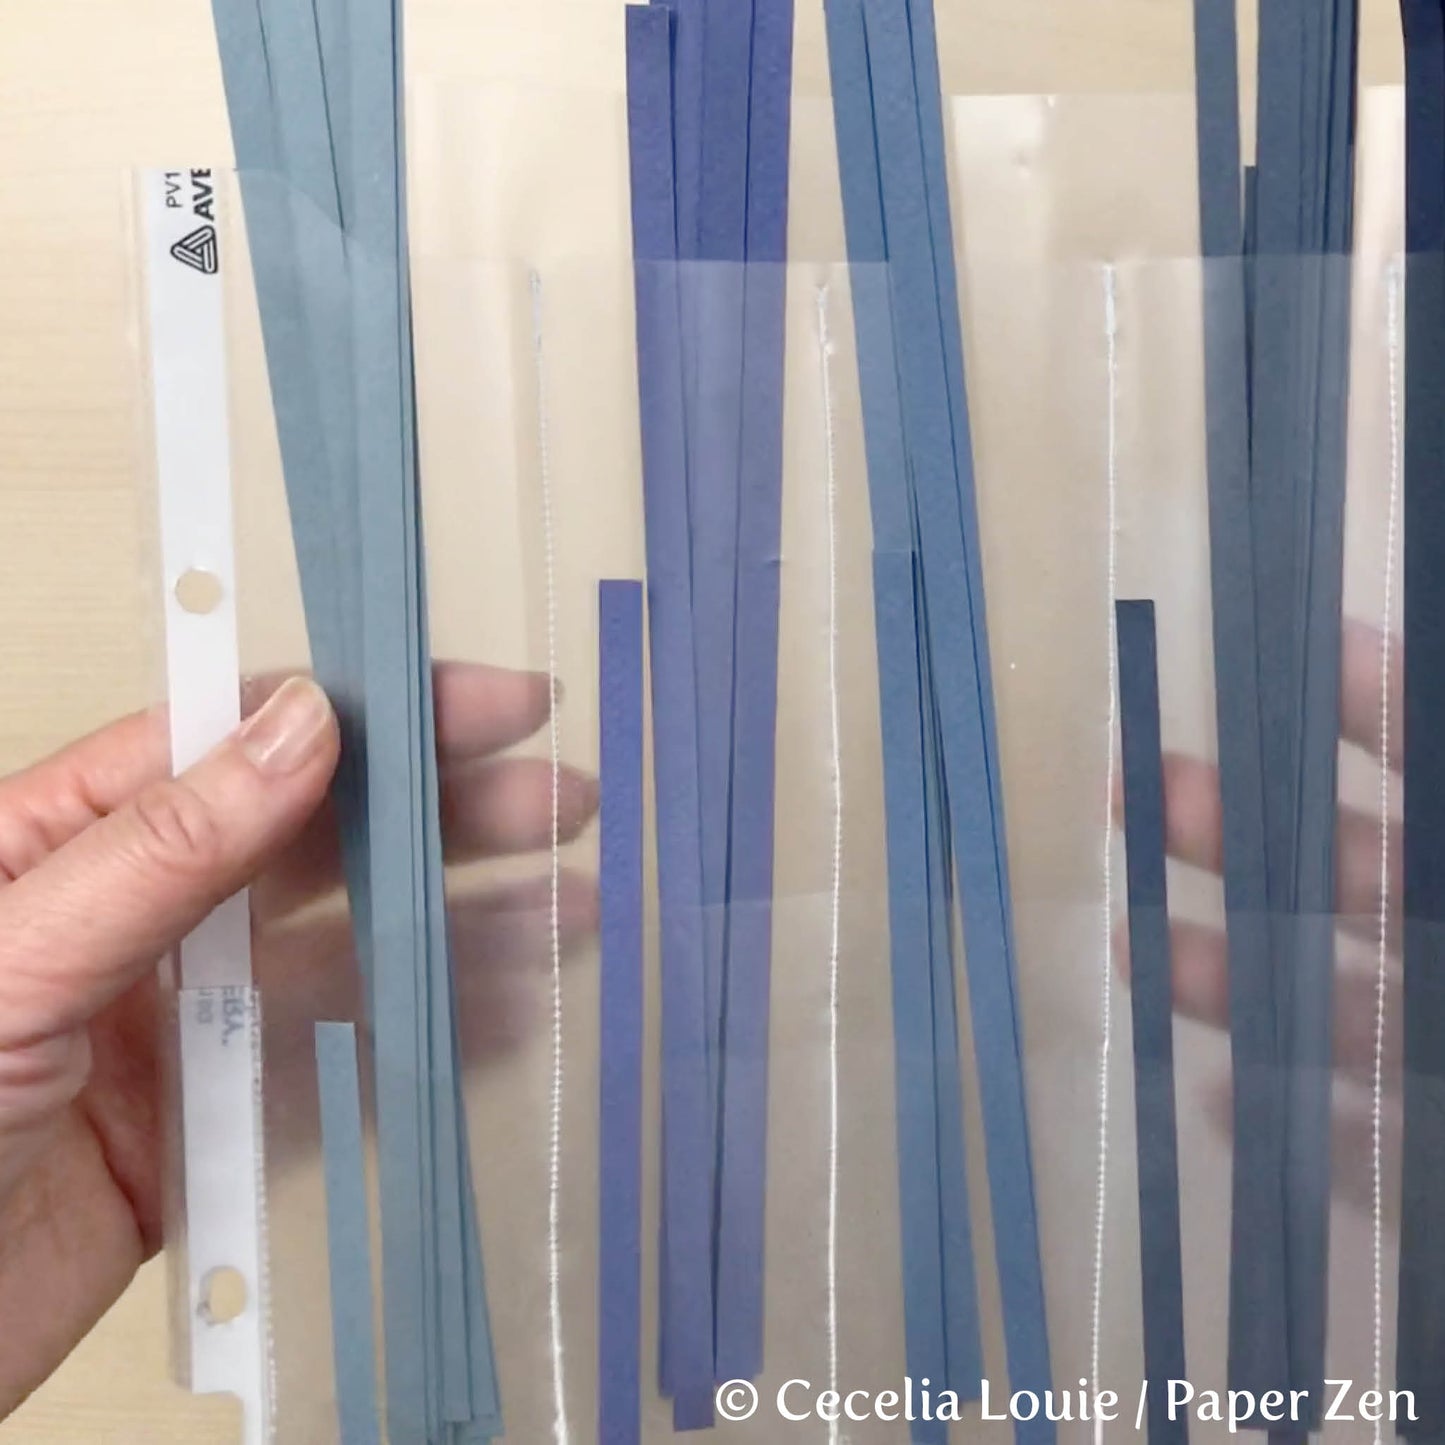
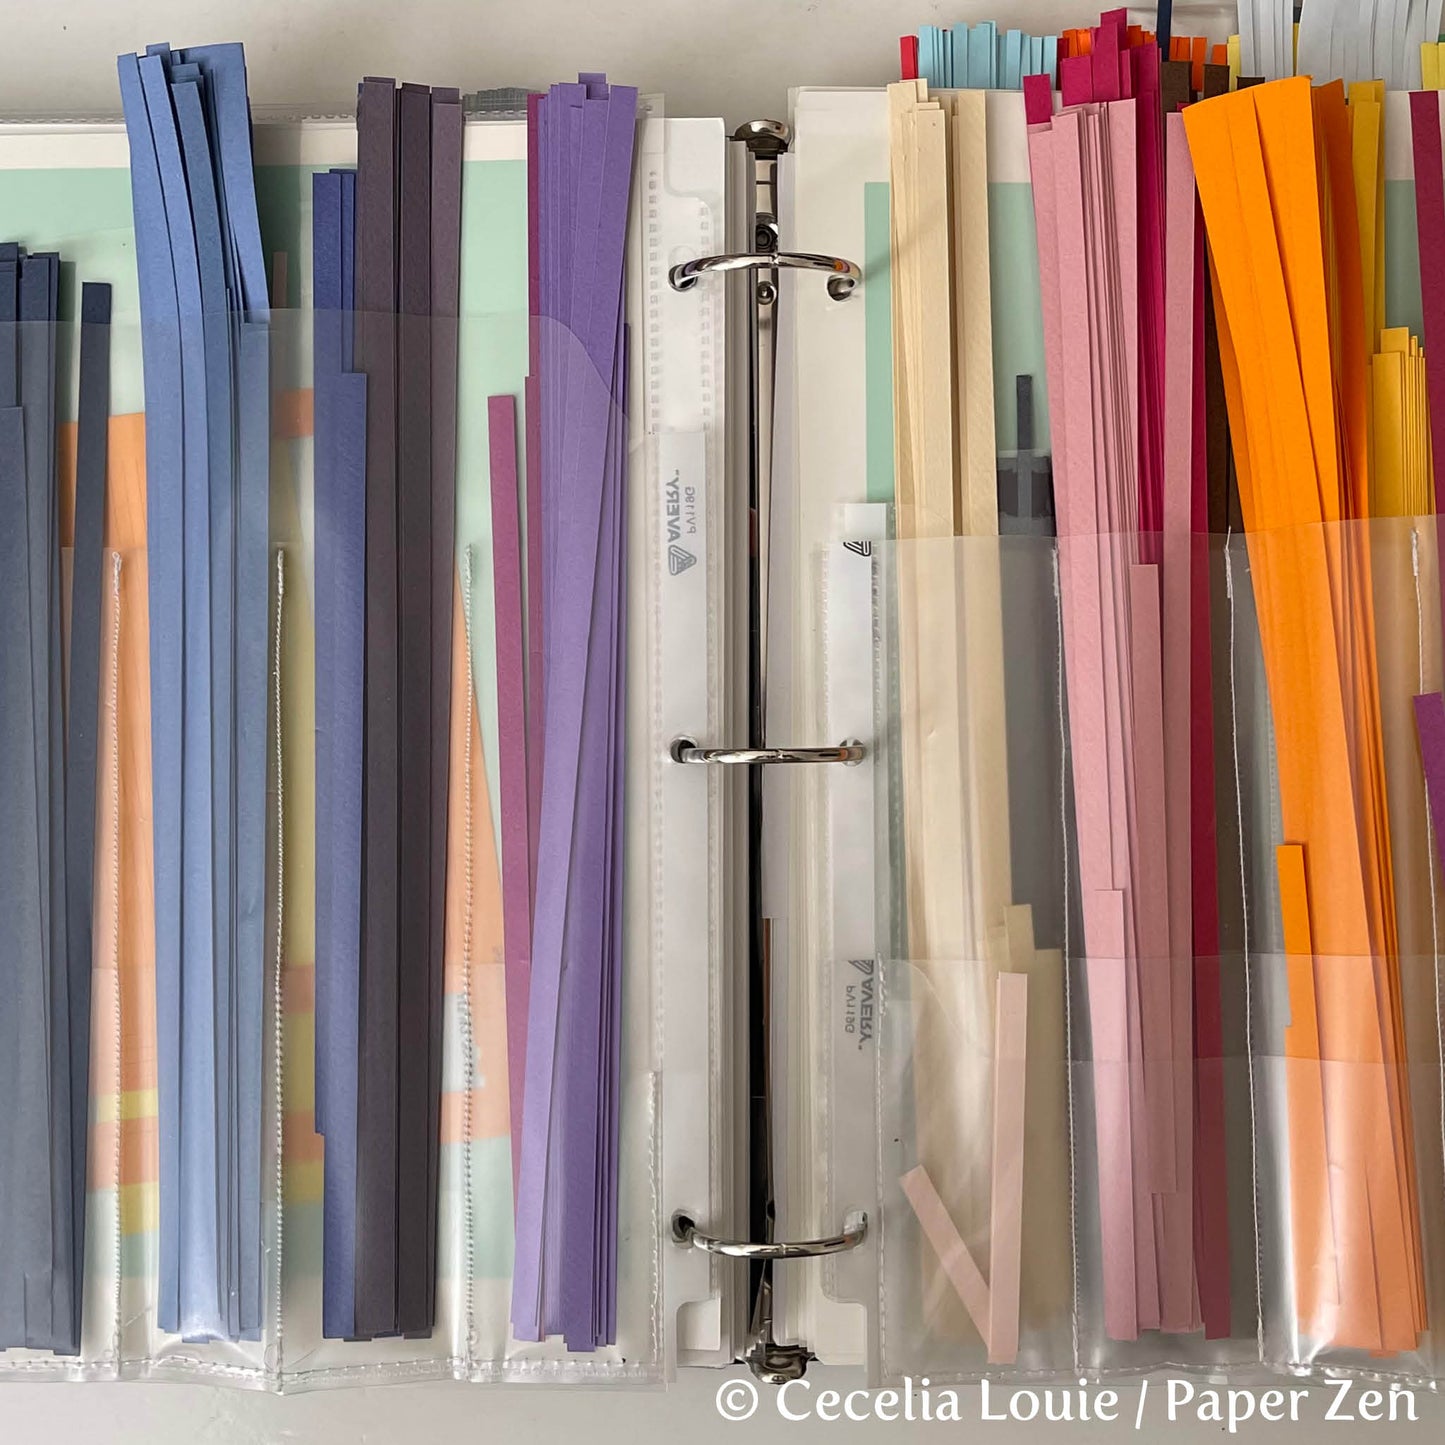
Watch my tutorial to see how to keep 11" long, medium, and short quilling strips separated, yet together, neatly organized for storage in a binder or on your desk.
The paper I'm showing here is Canson Mi-Tientes, which I've cut myself into 1/4" width. The thickness is considerably thicker than conventional quilling paper.
Materials Needed
• plastic sheet protector
• a printer and a cardstock
• metal ruler
• scoring tool
• x-acto knife
• sewing machine
Steps
- Download my template and print onto card stock. Insert it into the plastic sleeve protector.
- Lightly score across the vertical columns to give yourself a sewing guide.
- Using a ruler, lightly cut across the horizontal line and freehand cut the curved lines, going all the way to the edge. Remove the template.
- Use a pen to mark where your cut lines meet the edge of the sheet protector.
- Insert the template back into the sleeve, facing the back, upside down. Match up the template to the pen marks.
- Cut along the horizontal line and freehand cut the curved lines. Remove the template. Continue the cut lines all the way to the edges to separate the top third from the bottom.
- Flip the top third over, matching the top edge to the bottom edge.
- Sew the two middle columns, then the two outer columns. Finally sew along the 3 edges and bottom.
- Insert your quilling strips, and admire how easily this organizer keeps long, medium, and short strips together yet separated.
Paper
Brand: Canson, Mi-Tientes
Weight: 98 lb / 160 gsm (heftier than standard quilling paper)
Width: 1/4” (I cut them myself using a Cricut Explore)
Sheet Size: 8½ × 11” or 19 × 25” from fine art stores
Amazon Affiliate Link: http://amzn.to/2zpVAg2


