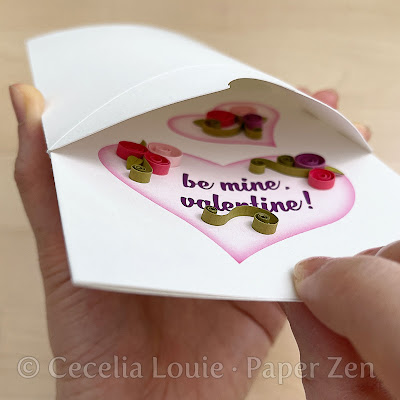
If you’re new to quilling and intimidated to start, then try this easy Valentine’s Day card, using basic quilling shapes. Watch my tutorial or read more about it below.

Steps:
Step 1: click here to download my free PDF pattern, and print it onto card stock
Step 2: score vertically in half with a score board or a dried up pen
Step 3: cut horizontally, fold, then unfold so it lays flat on your desk
Paper used: conventional quilling paper, 1/8 inch wide

Card #1: Quilling hearts with S-Scrolls and C-Scrolls
This card is based on a birthday card I made for my mom in 2007, inspired by a store in the mall called La Vie En Rose. She loved it so much she kept it on her fridge for years.
Length of S- and C-scrolls: 4” long

Card #2: Quilling hearts with Loose Scrolls
Loose Scrolls look like question marks to me and are combined with easy heart outlines for this card.
If you struggle with accidental glue globs, what I do is set one end down first while keeping the other end up in the air. Then I set the other side down. This way your eyes are not struggling to look at so many crucial areas at the same time.
For more tips about glue, watch my video tutorial about Quilling Glue Basics - 5 Tips
Length of Loose Scrolls: 3” long
Length of Hearts: 1.5 and 2” long

Card #3: Quilling Flowers and Leaves
For this card, I used a die cut punch I bought at the dollar store to make easy leaves. After punching this flower, I cut each petal loose, scored them in half with my needle tool, then folded – BAM! Your leaves are ready for your bouquet.
Length of Closed Coil Flowers: 2” and 3” long
Pillow Box Envelope
Protect your quilled greeting card with a puff of air using my FREE pillow box envelope pattern. Read more.


